Installing and Setting Up Your Auto Chicken Door & Solar Kit
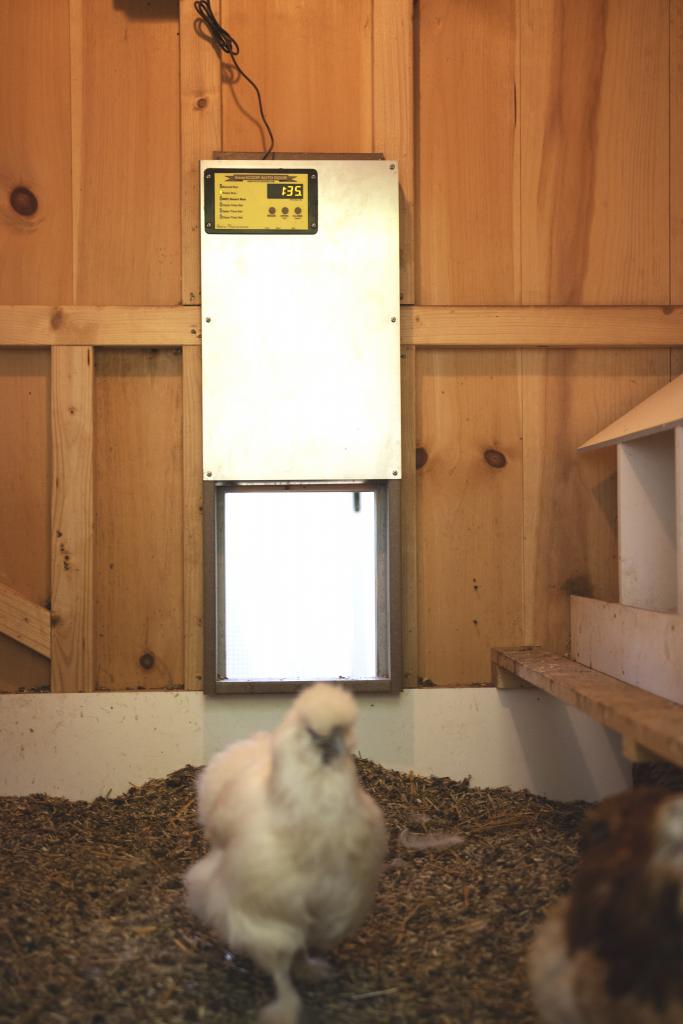
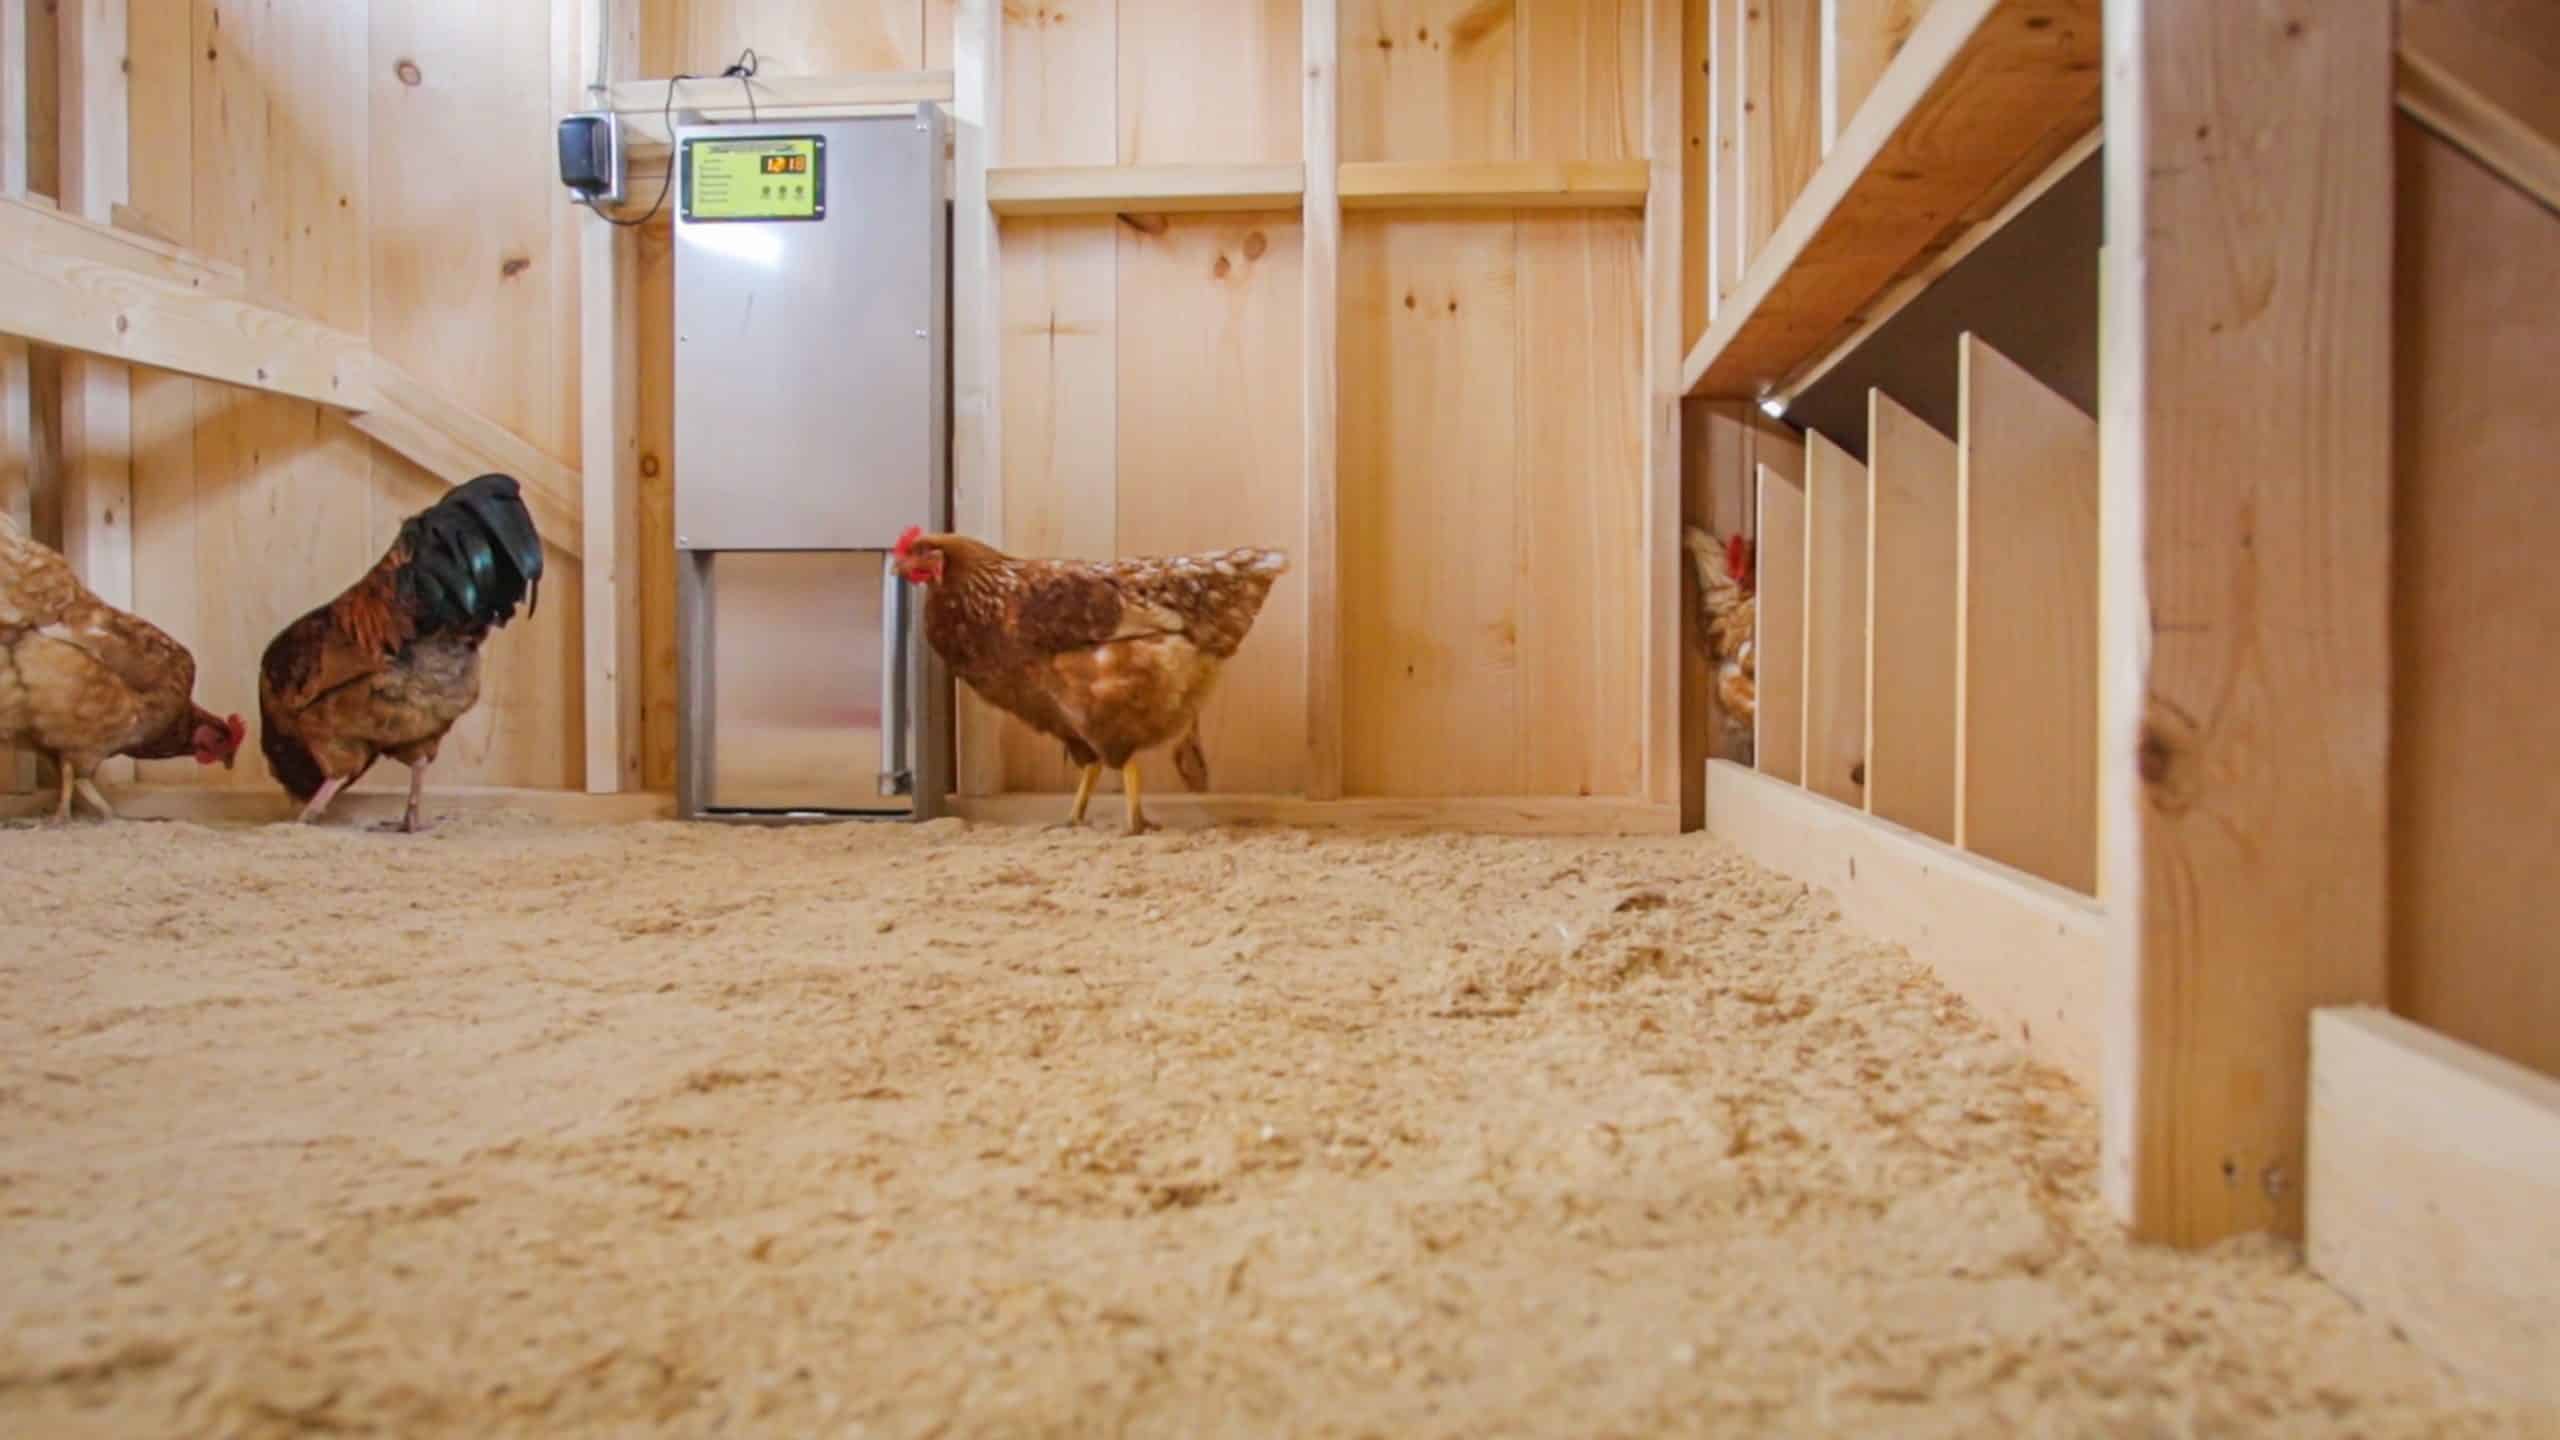
You have purchased the auto coop door, and you are now ready to install and set it up. We have created a guide for you with images and text to help you quickly install and then set up your automatic chicken coop door. Follow the instructions below and feel free to contact us with any additional questions.
- Operating The Auto Chicken Door
- Installing The Auto Chicken Door
- Solar Kit Installation
- How To Grease The Actuator
Operating The Auto Chicken Door
Main Buttons
Mode – This allows you to navigate to different modes.
Open – This allows you to open the door manually and set the hour.
Close – This allows you to close the door manually and set the minutes Set-Up Instructions
Manual Run
This mode allows you to open/close the door manually.
If this mode is left in Manual Run, please note that the door will not operate (open/close) automatically.
Timer Mode
The door will automatically open /close at set times.
If you switch from Manual Mode to the Timer Mode, the door will automatically go to its set position.
Important – A green light will be displayed next to “Timer Mode” indicating this mode is ACTIVE. This light must be on for this mode to operate automatically.
Clock Time Set
Allows you to set the current time.
Open Time Set
Allows you to set a specific open time.
Close Time Set
Allows you to set a specific close time.
Wi-Fi Smart Run
This feature is coming soon. You will need the Wi-Fi unit that is designed as an accessory for the unit for this to operate.
*PLEASE NOTE*
The decimal point at the bottom right-hand corner of the display indicated AM and PM
No Decimal showing = AM
Decimal Showing = PM


Installing The Auto Chicken Door

Step #1
Find a good location in your chicken coop to install your new door.
Cut an opening 10 1/4 in. wide x 12 in. high, or you can set the door to cover your existing coop door opening. It is recommended that the door be installed on the inside of your coop.
If the door is installed on the outside, it will need to be protected from the weather.

Step #2
(If you did not purchase the Wi-Fi unit, you can skip this step)
Power up your door and go to the manual mode to lower the door. (see manual run for instructions to lower the door) Now take the wire that connects your Wi-Fi unit to your control panel, feed it through the hole in the top of the door, and plug it in the back on the bottom of the control panel.

Step #3
Set up your power supply.
If you got the solar kit, go to solar kit instructions.
If you purchased the 12V wire to connect directly to your own 12V battery, you will need to disconnect your 110V power cord from the bottom of the control panel and plug in the 12V wire. (note- you cannot use two power sources)
Feed your power supply cord through the hole in the top of the door and then plug in the bottom of the controller accessible from the backside of the door.

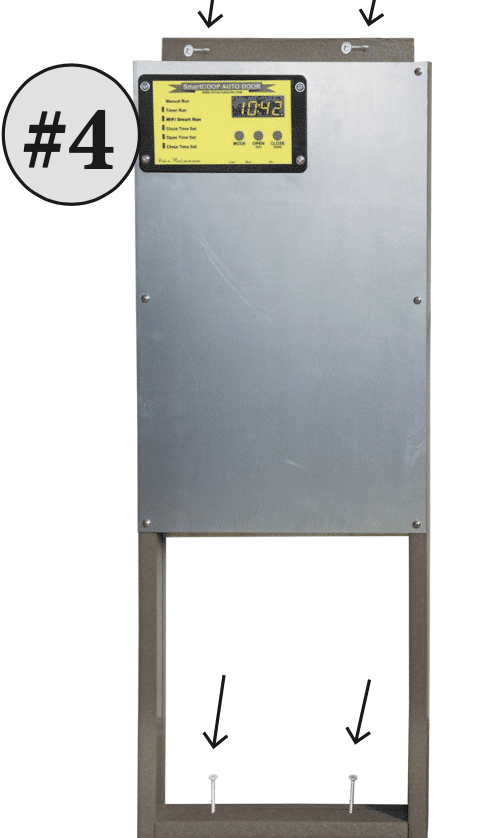
Step #4
Attach the door to the wall with 4 screws. (provided)
2 screws at the bottom and 2 screws at the top.
Solar Kit Installation for Auto Chicken Door
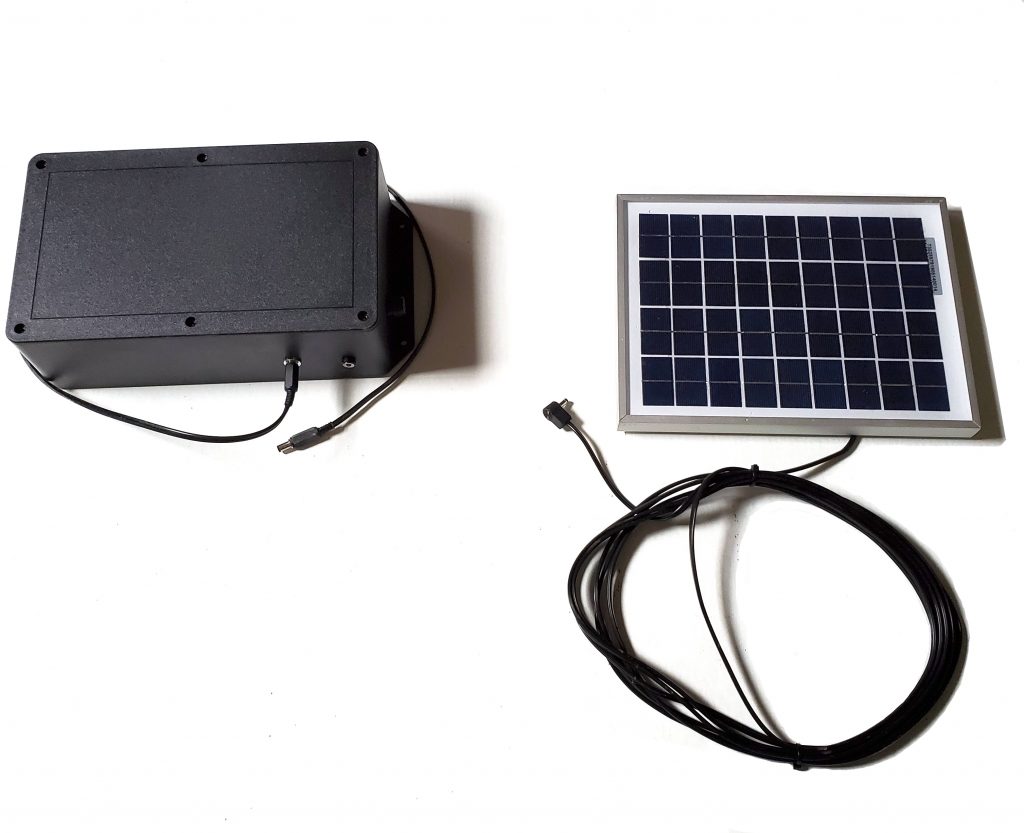
Before Connecting the Solar Kit to your SmartCoop Door, please be sure the Fuse is inserted into the Battery Box and the Battery Box is FULLY Charged, this can be done using a 12 Volt Battery Charger or by allowing it to charge using the Solar Panel (24-72 hours initially)
Please note, the Solar Kit will ONLY be partially charged and may get drained during shipping, therefore charging the Battery to the Solar Kit is an important step and should not be skipped.
The Battery Box can be opened by taking out the 6 screws and removing the casing, this will allow access to the Battery and the Indicator Lights.
Once the Battery Box is Fully Charged, you can connect the SmartCoop Door to the Solar Kit and begin programming. (See Setup and Programming Instructions Above)

How to grease the actuator
Regularly greasing your automatic chicken door actuator is essential to ensure smooth operation and extend the life of the mechanism. Over time, dust, debris, and weather exposure can cause the actuator to stiffen, leading to potential malfunctions or wear. Applying the right lubricant to the actuator’s moving parts helps reduce friction, prevent rust, and maintain reliable performance. Be sure to use a weather-resistant grease and clean the actuator thoroughly before application for the best results. For a step-by-step guide, check out the video above to see how easy it is to keep your chicken door running like new!

